
Setup
Timesheets in SRNA is a new feature which allows you to keep track of your employees shift hours worked. In order to enable this new feature follow the steps below:
- Click the cog (settings) icon in the left menu bar.
- Select the store settings option
- Select the store you would like to apply this too
- Scroll down to the timesheets settings and click the timesheets enabled button, then scroll to the bottom and click save.
- Navigate back to the cog icon and select user group settings
- Select the user group(s) which you would like to give permission to access the timesheets feature
- Apply changes and voila! You now have timesheets enabled
Using timesheets in SRNA is quite easy and hassle free, in order to add shifts for specific employees you navigate to the timesheets >> all timesheets page. Now click on the add shift button in the top right hand of the screen.
Add Shift
In the add shift form there are multiple different fields, below you can find a breakdown and description of each of these fields and their intended use:
Start Date: The date and hour in which the employee logged their hours
End Date: The hour in which the user logged off their shift
Work Type: The type of pay for the hours worked, such as normal pay, public holiday, annual leave
Break Total: The total amount of time the employee spent on break during their shift
Team Member: The employee who has logged the working hours
Store: The store at which the person worked for their shift
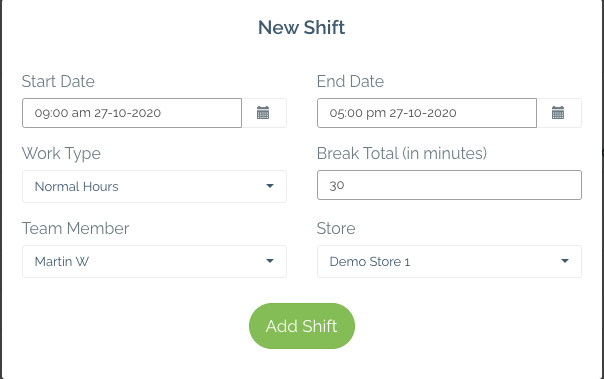
Once all of the fields have been filled in, click the add shift button and now you’re able to see the shift logged in the table

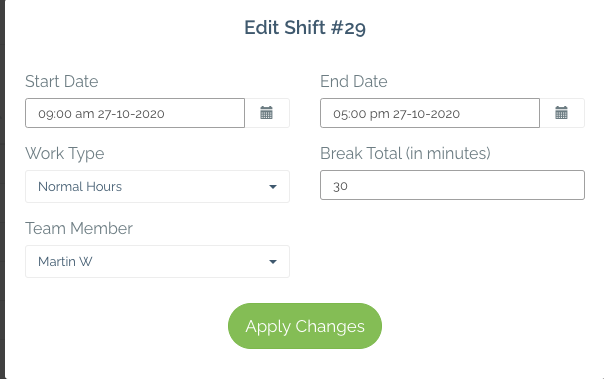
Edit Shifts
If you made a mistake while inputting a new shift you can always edit it providing you have the correct user group access, to do this click on the little write icon to the right of the shift. Then make your changes and click the apply changes button.
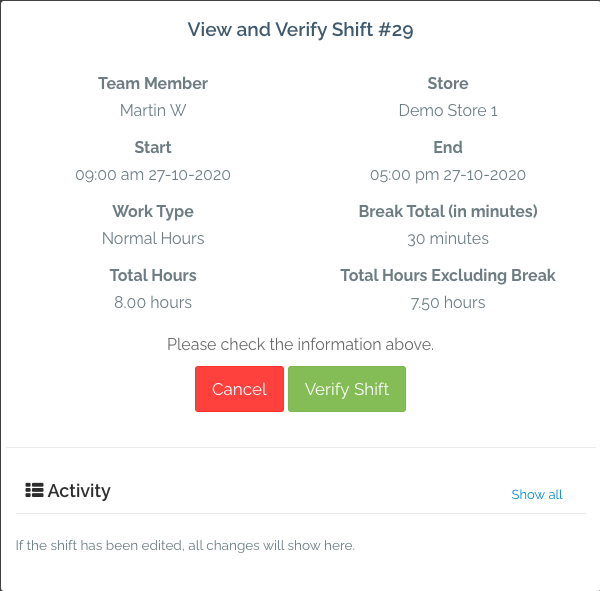
Verify Shifts
After a shift has been logged it needs to be verified by someone in the organisation with the right user group access. Verification of a shift can be done by clicking the little tick button to the right of the shift after that you just have to click the big green verify shift button and you’re good to go!
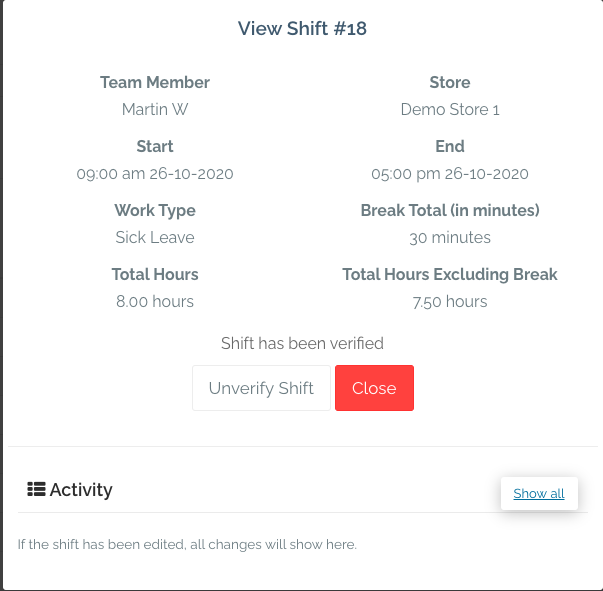
Unverify Shifts
If you would like to unverify your shifts and have the appropriate user group access to do so, you can by clicking the button with 4 lines to the right of the selected shift, after that click the unverify shift button and select yes and you're done.
Delete
If you have incorrectly logged a shift or added a duplicate shift into the table you can easily remove this shift by clicking the red x button to the right of the desired shift

Comments
0 comments
Please sign in to leave a comment.